Homemade ArtBot!
momo&cashew
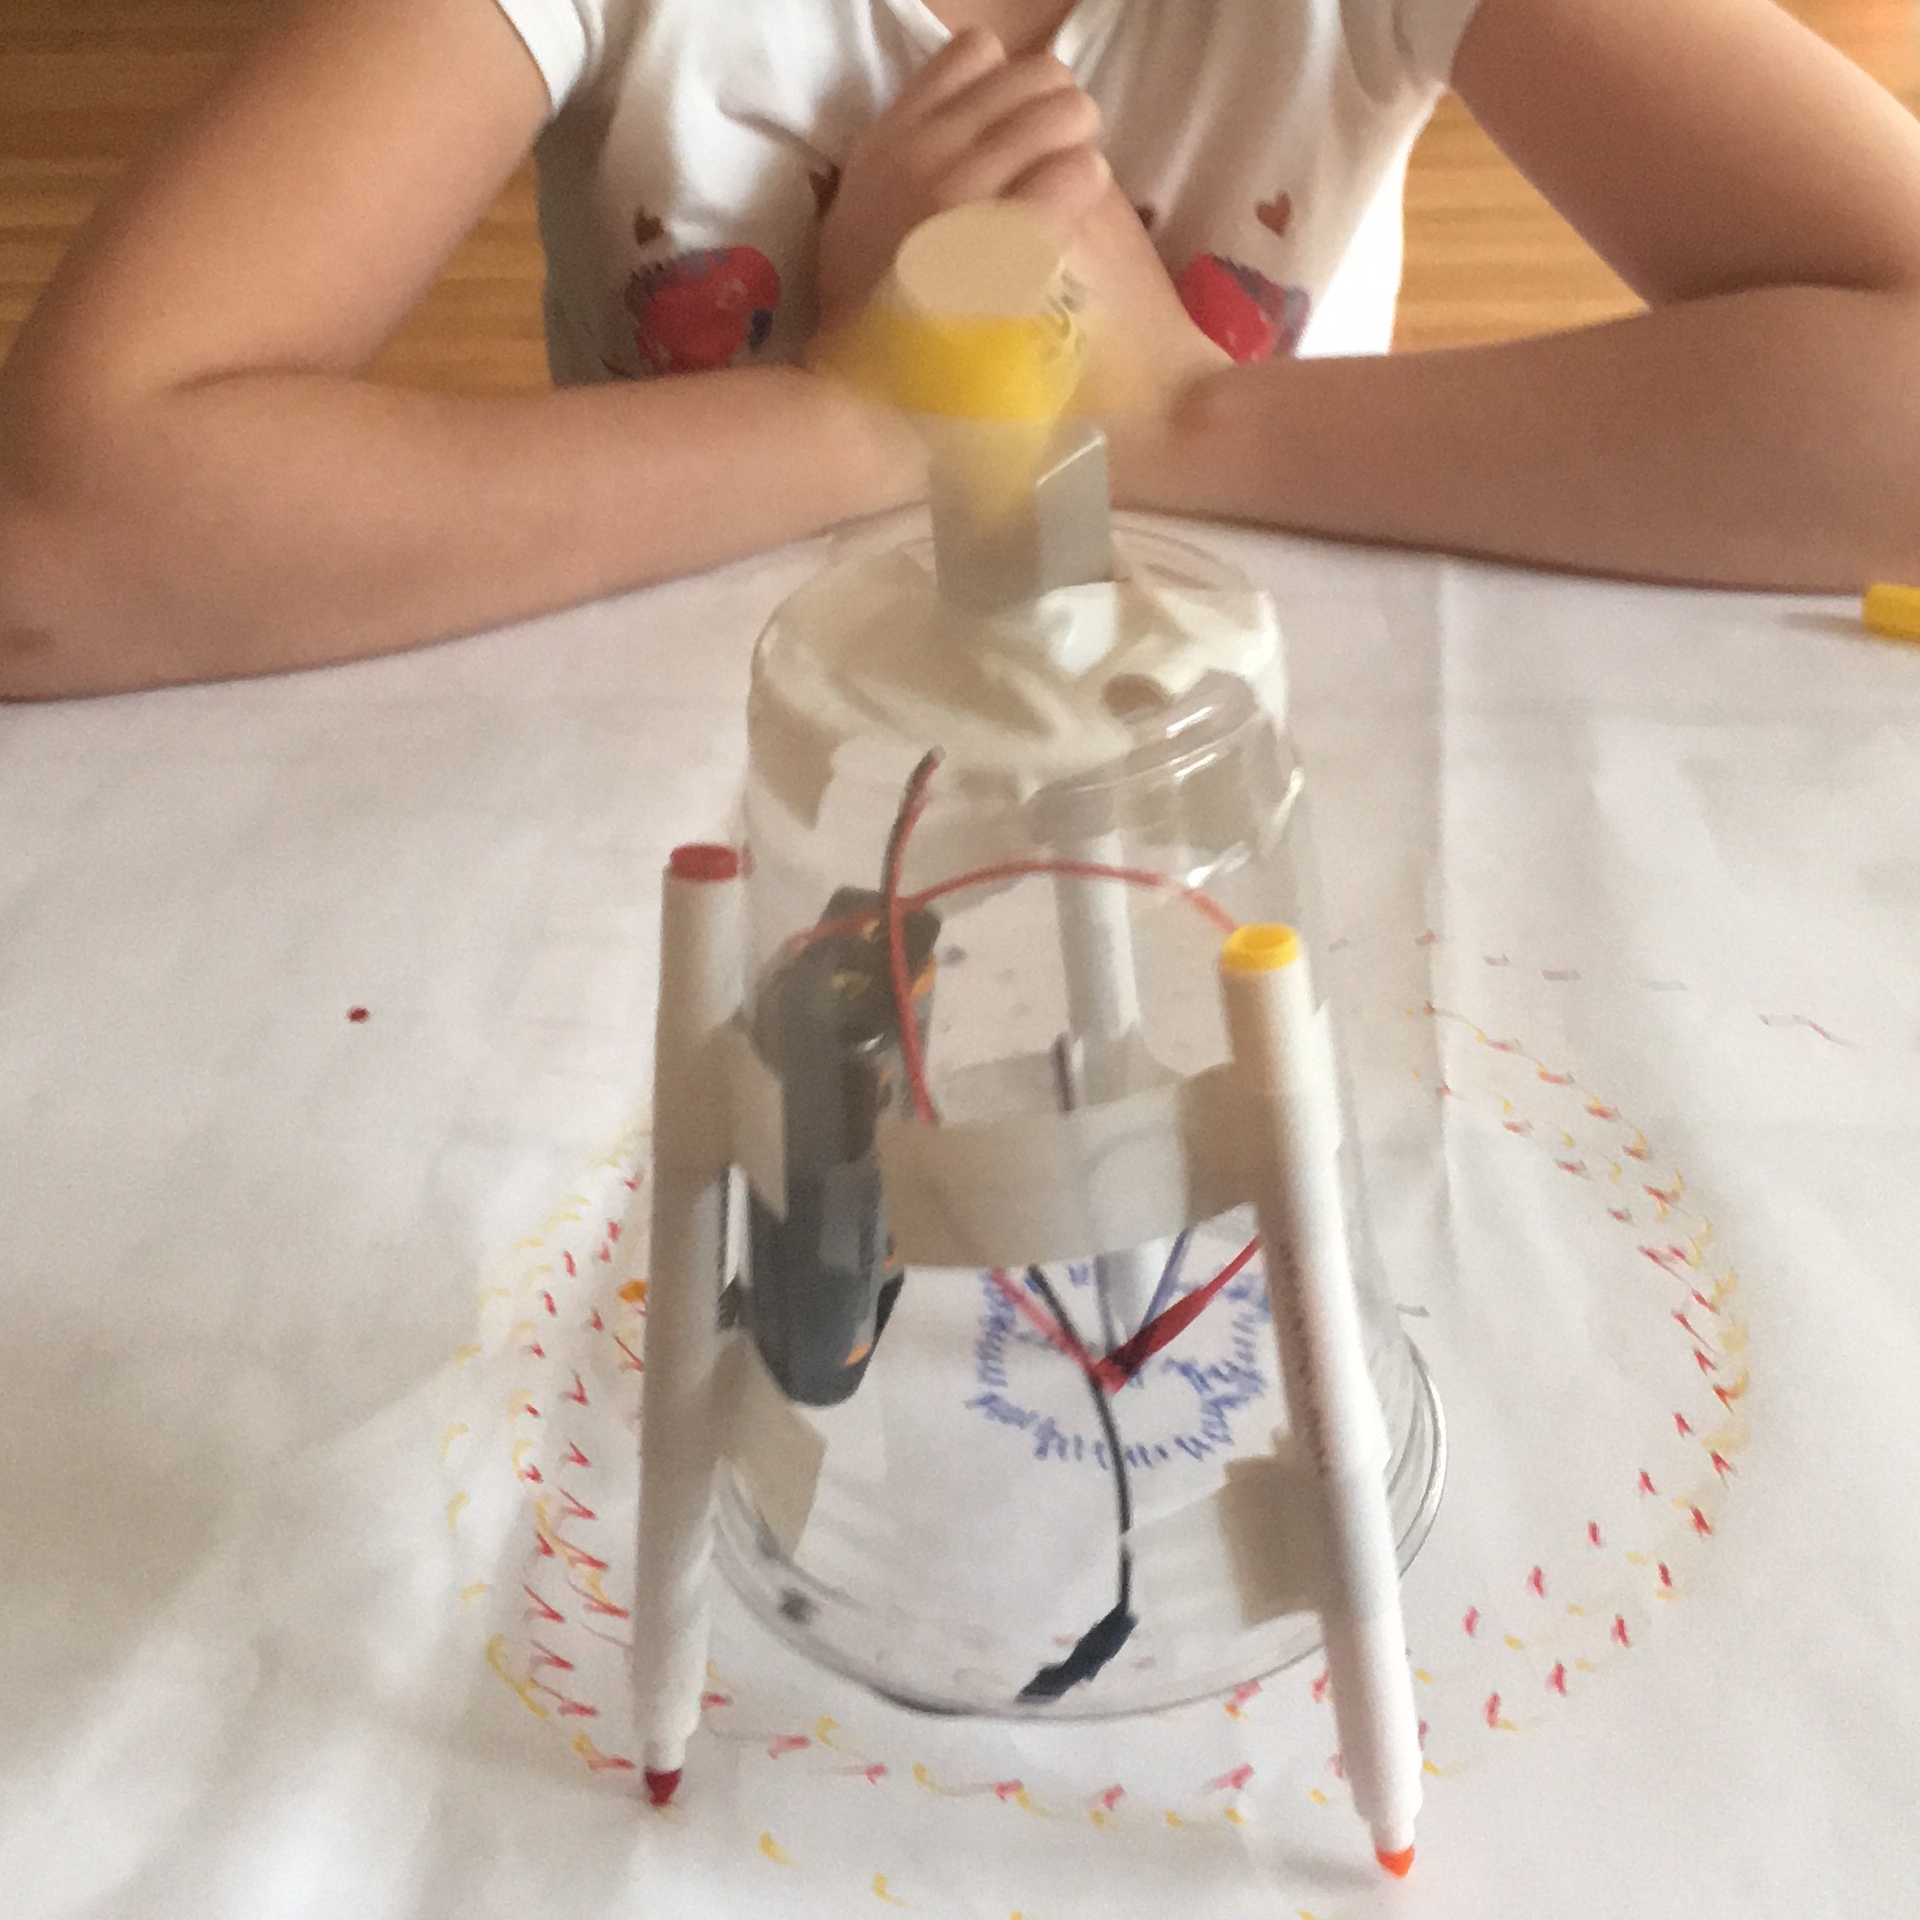
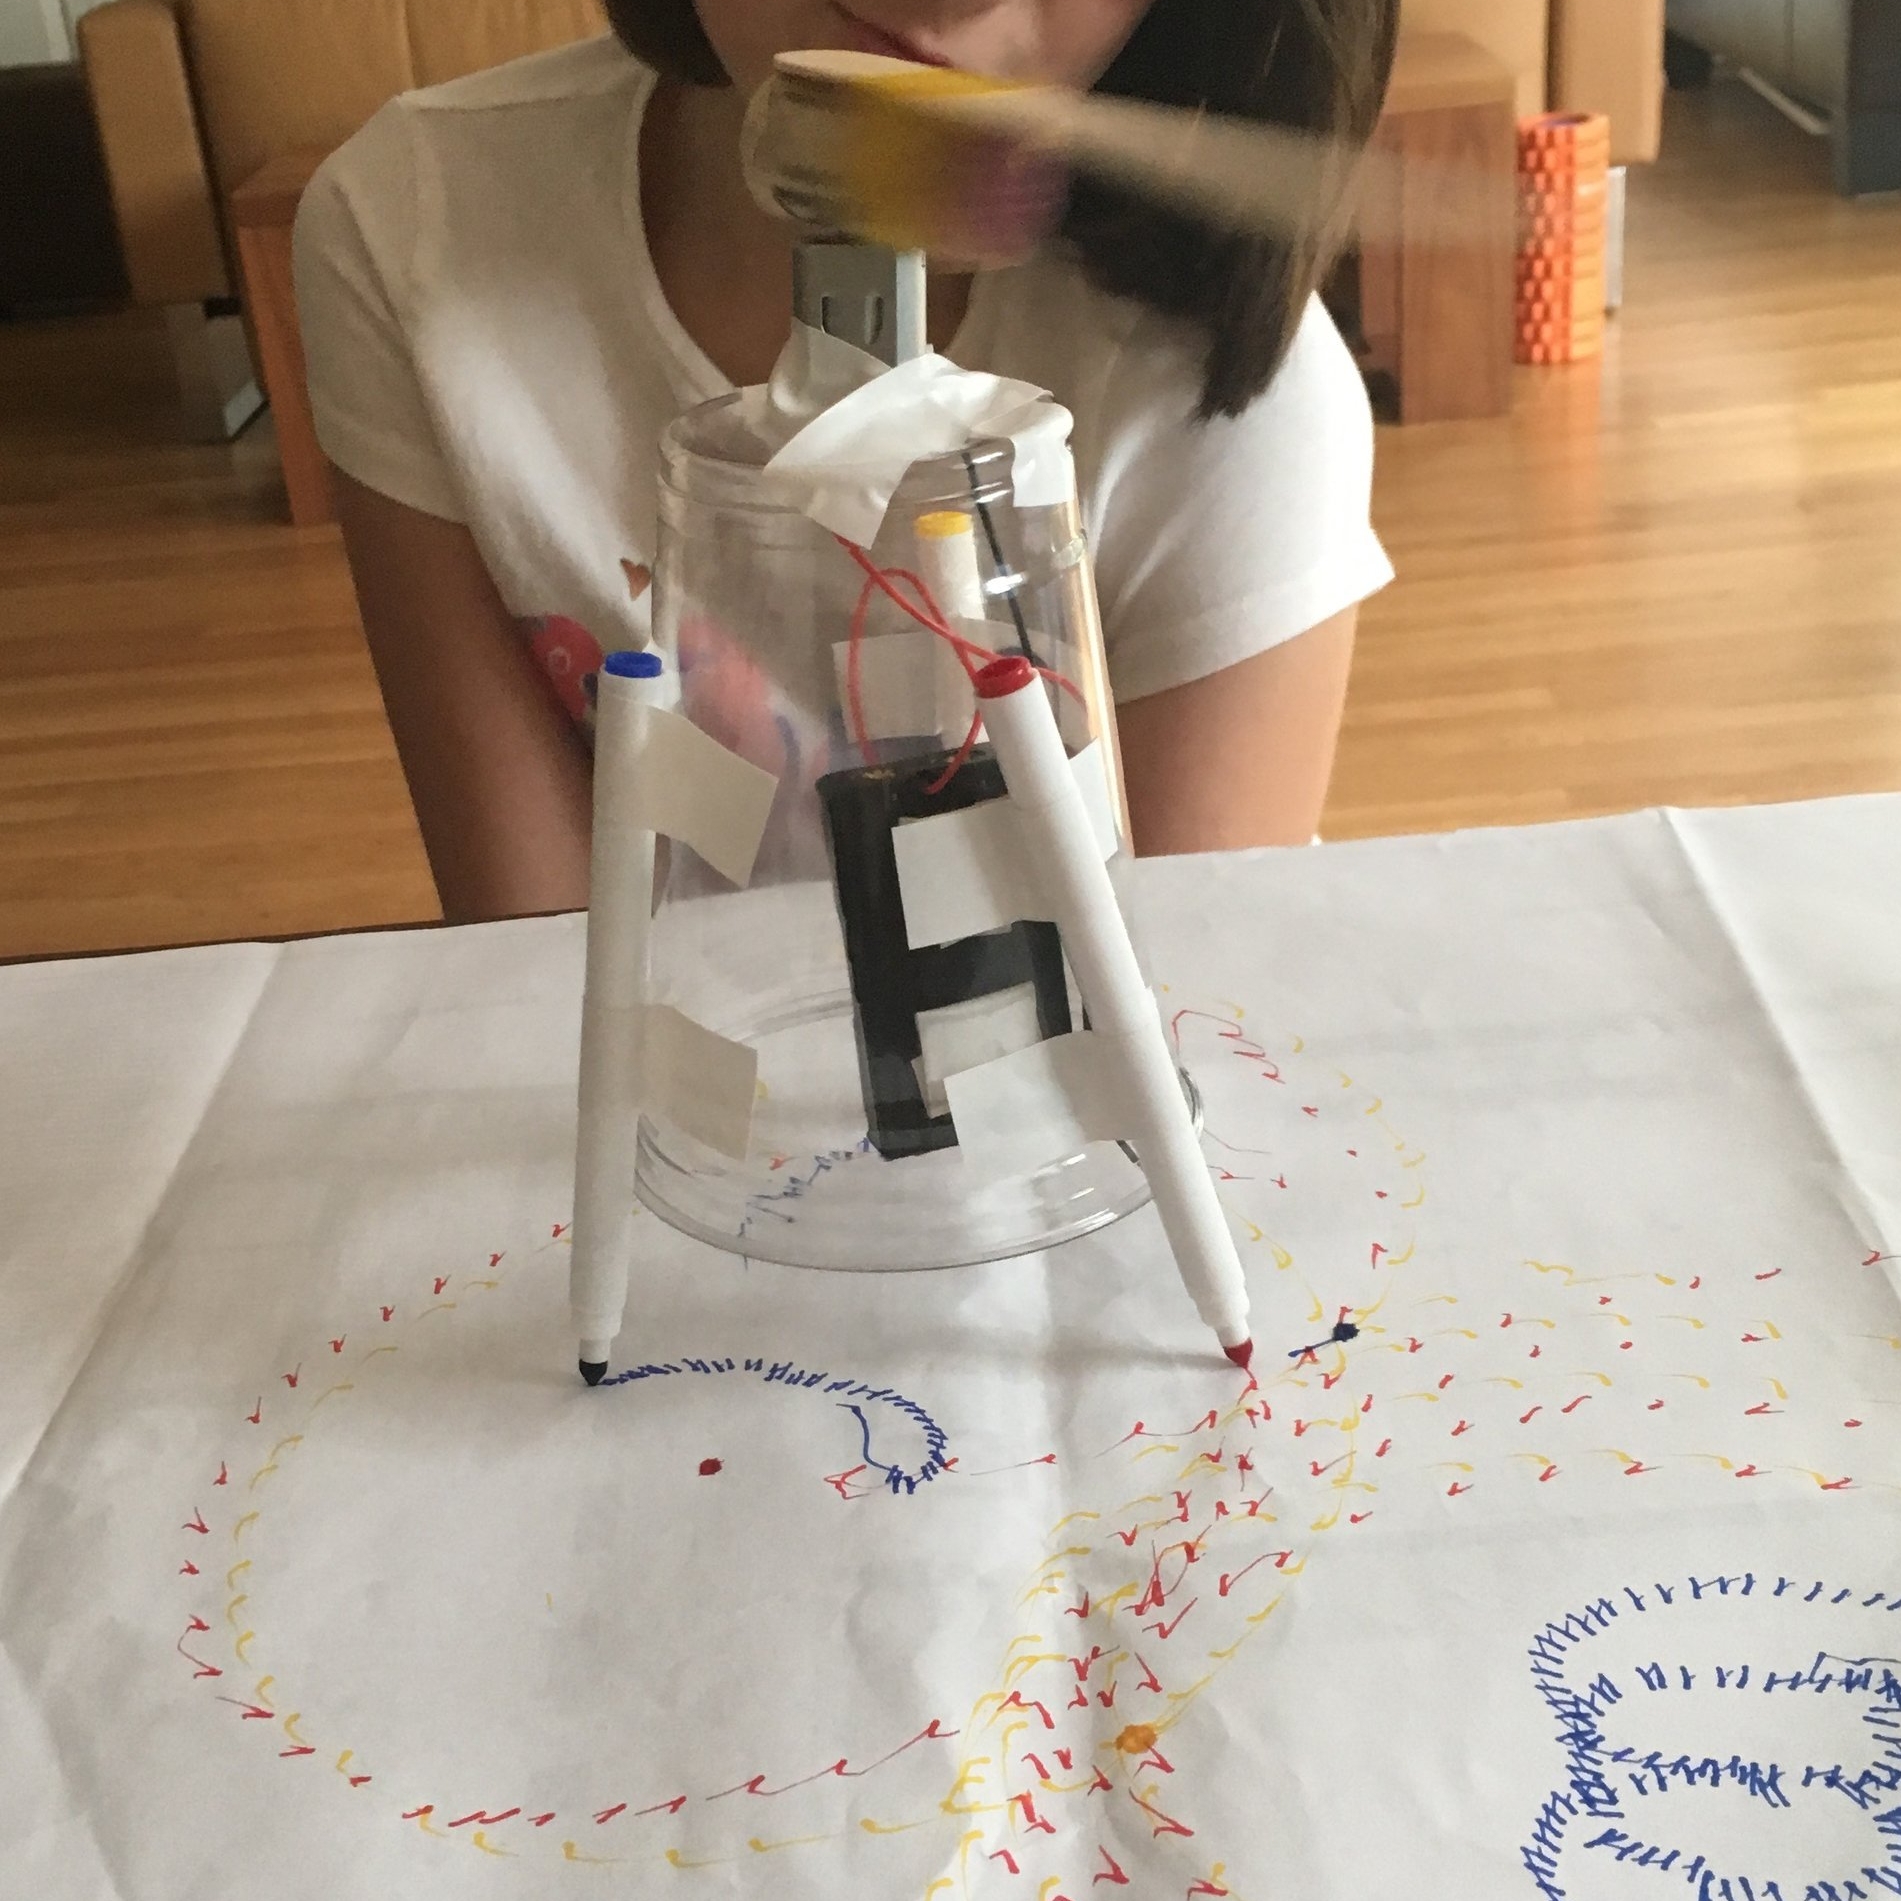
Lily made this for her school's science project and we LOVED it!

The kids at school got to pick a project from the Science Buddies website. Lily picked the Art Bot.
We bought all the bits and pieces separately and put it together ourselves... Adult assistance needed but fun!
AA batteries (2)
2xAA battery holder
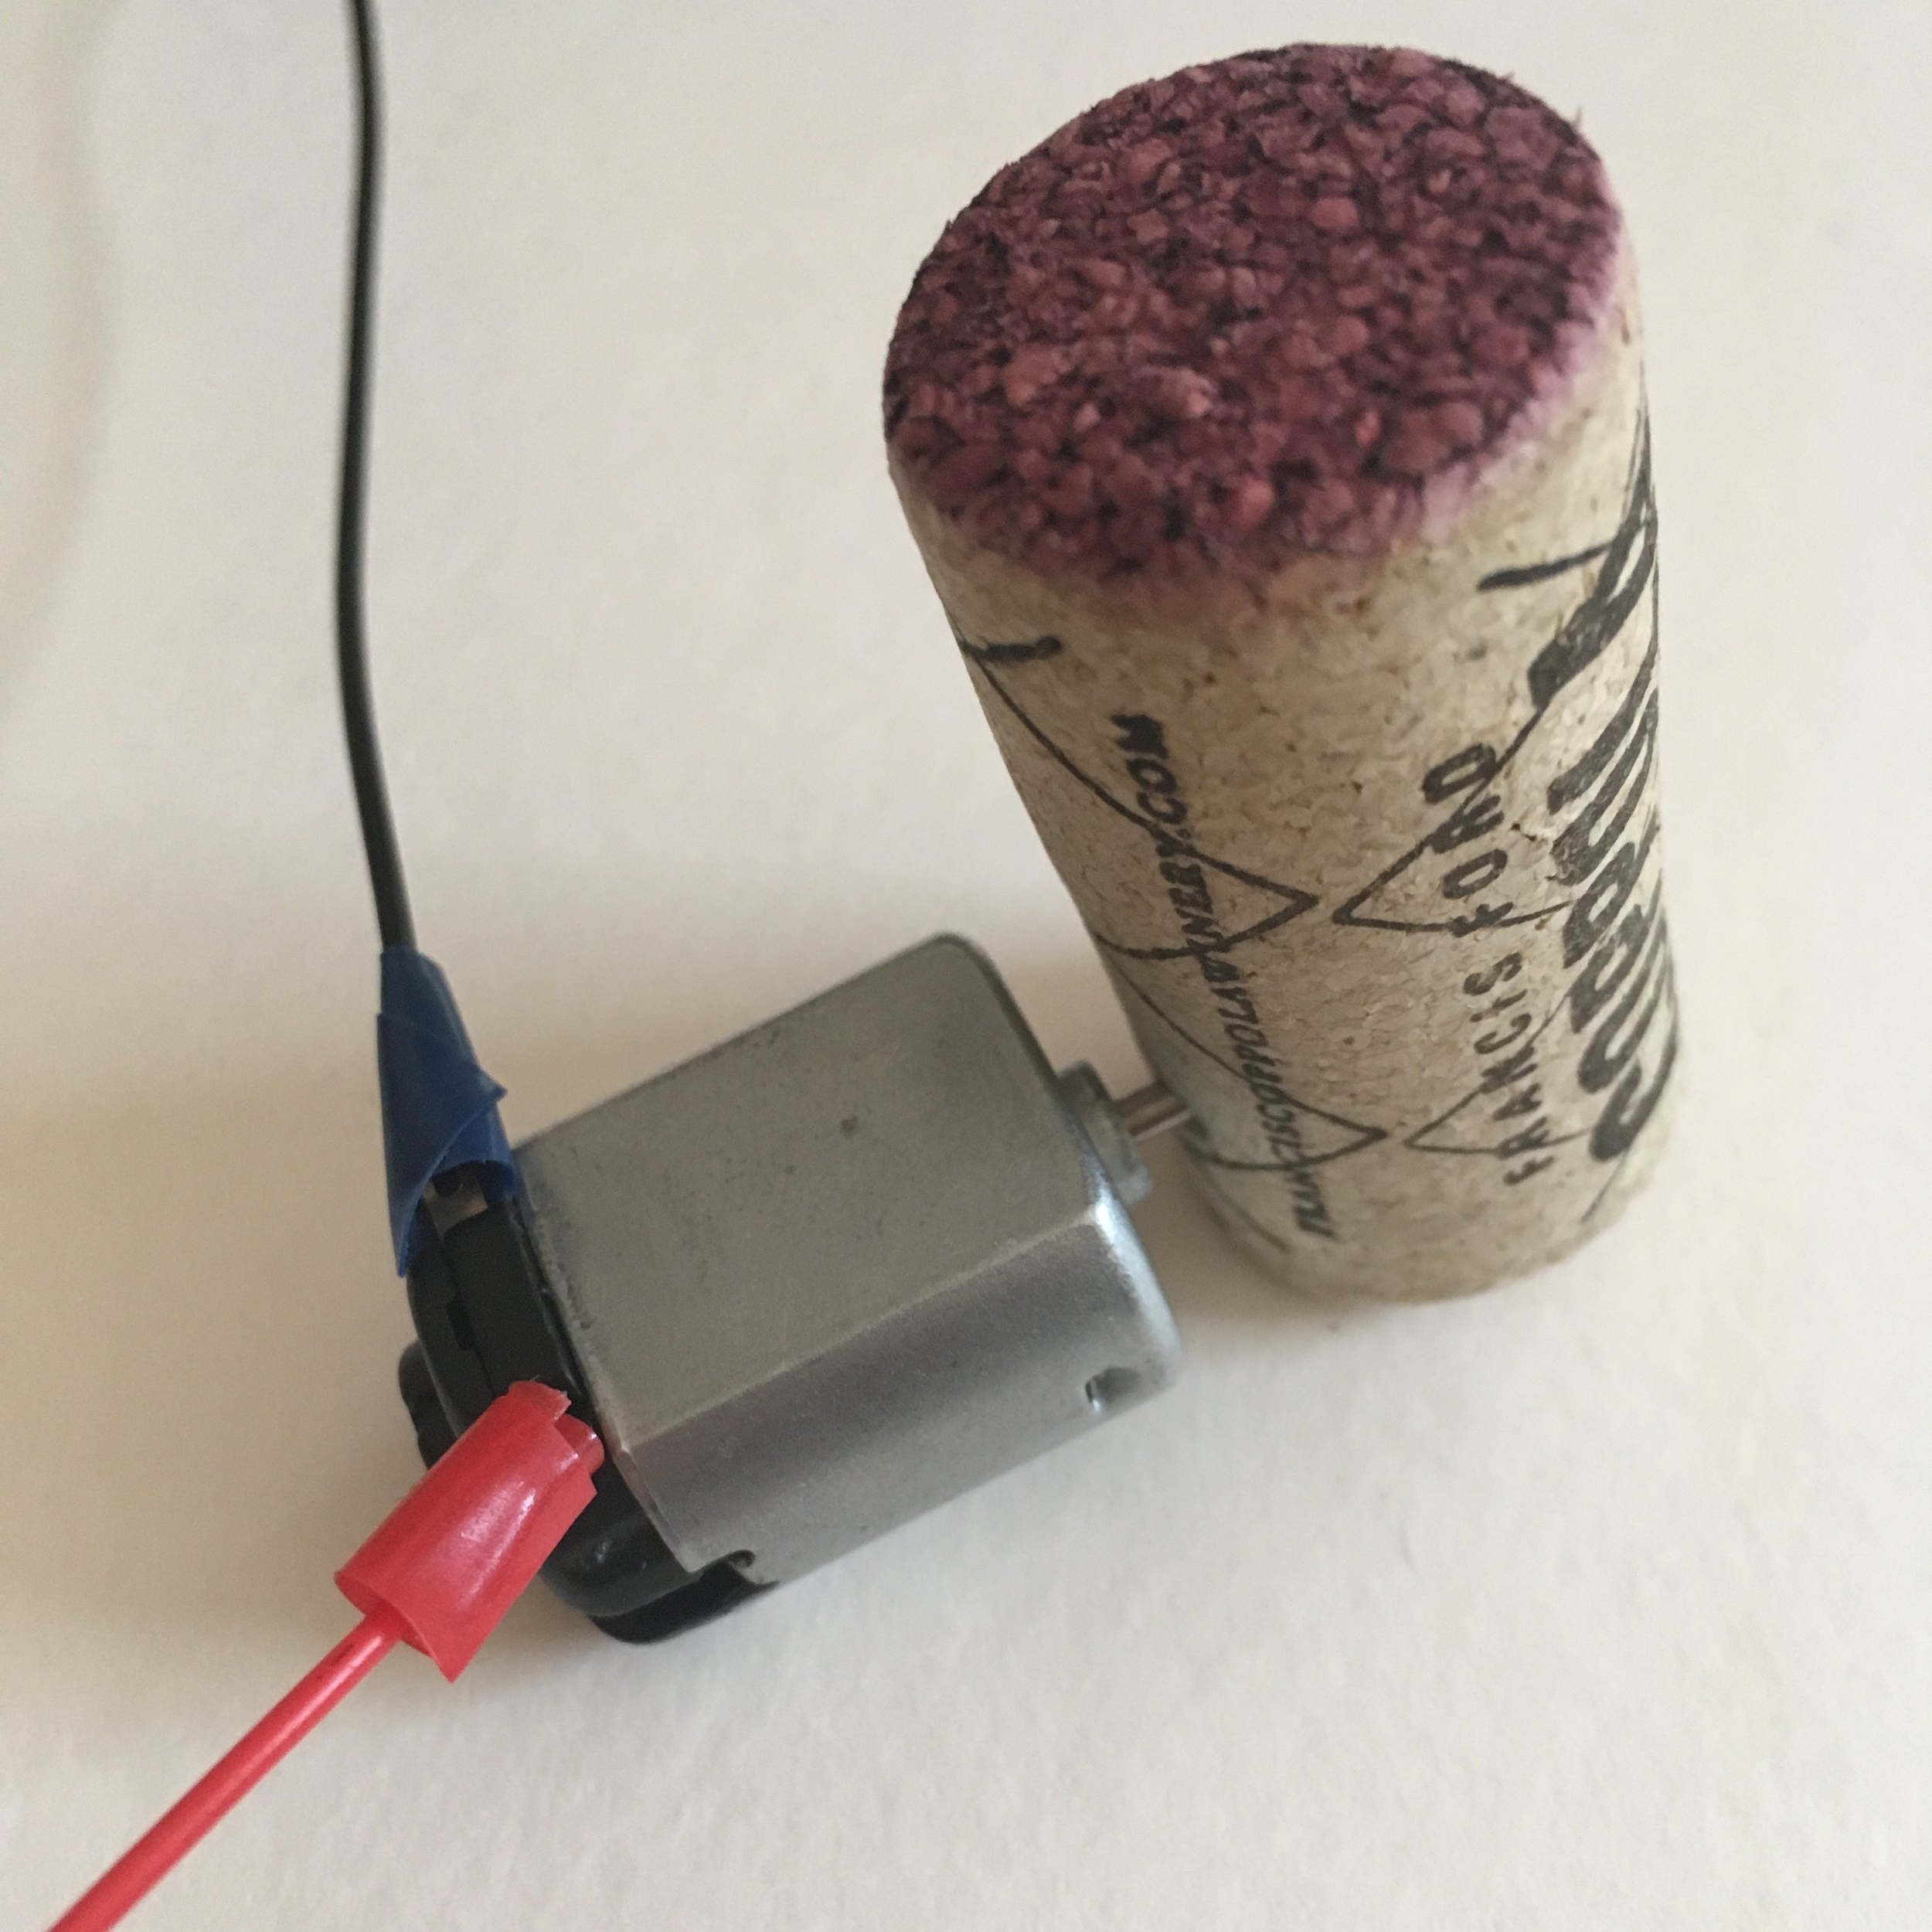
3 volt DC motor
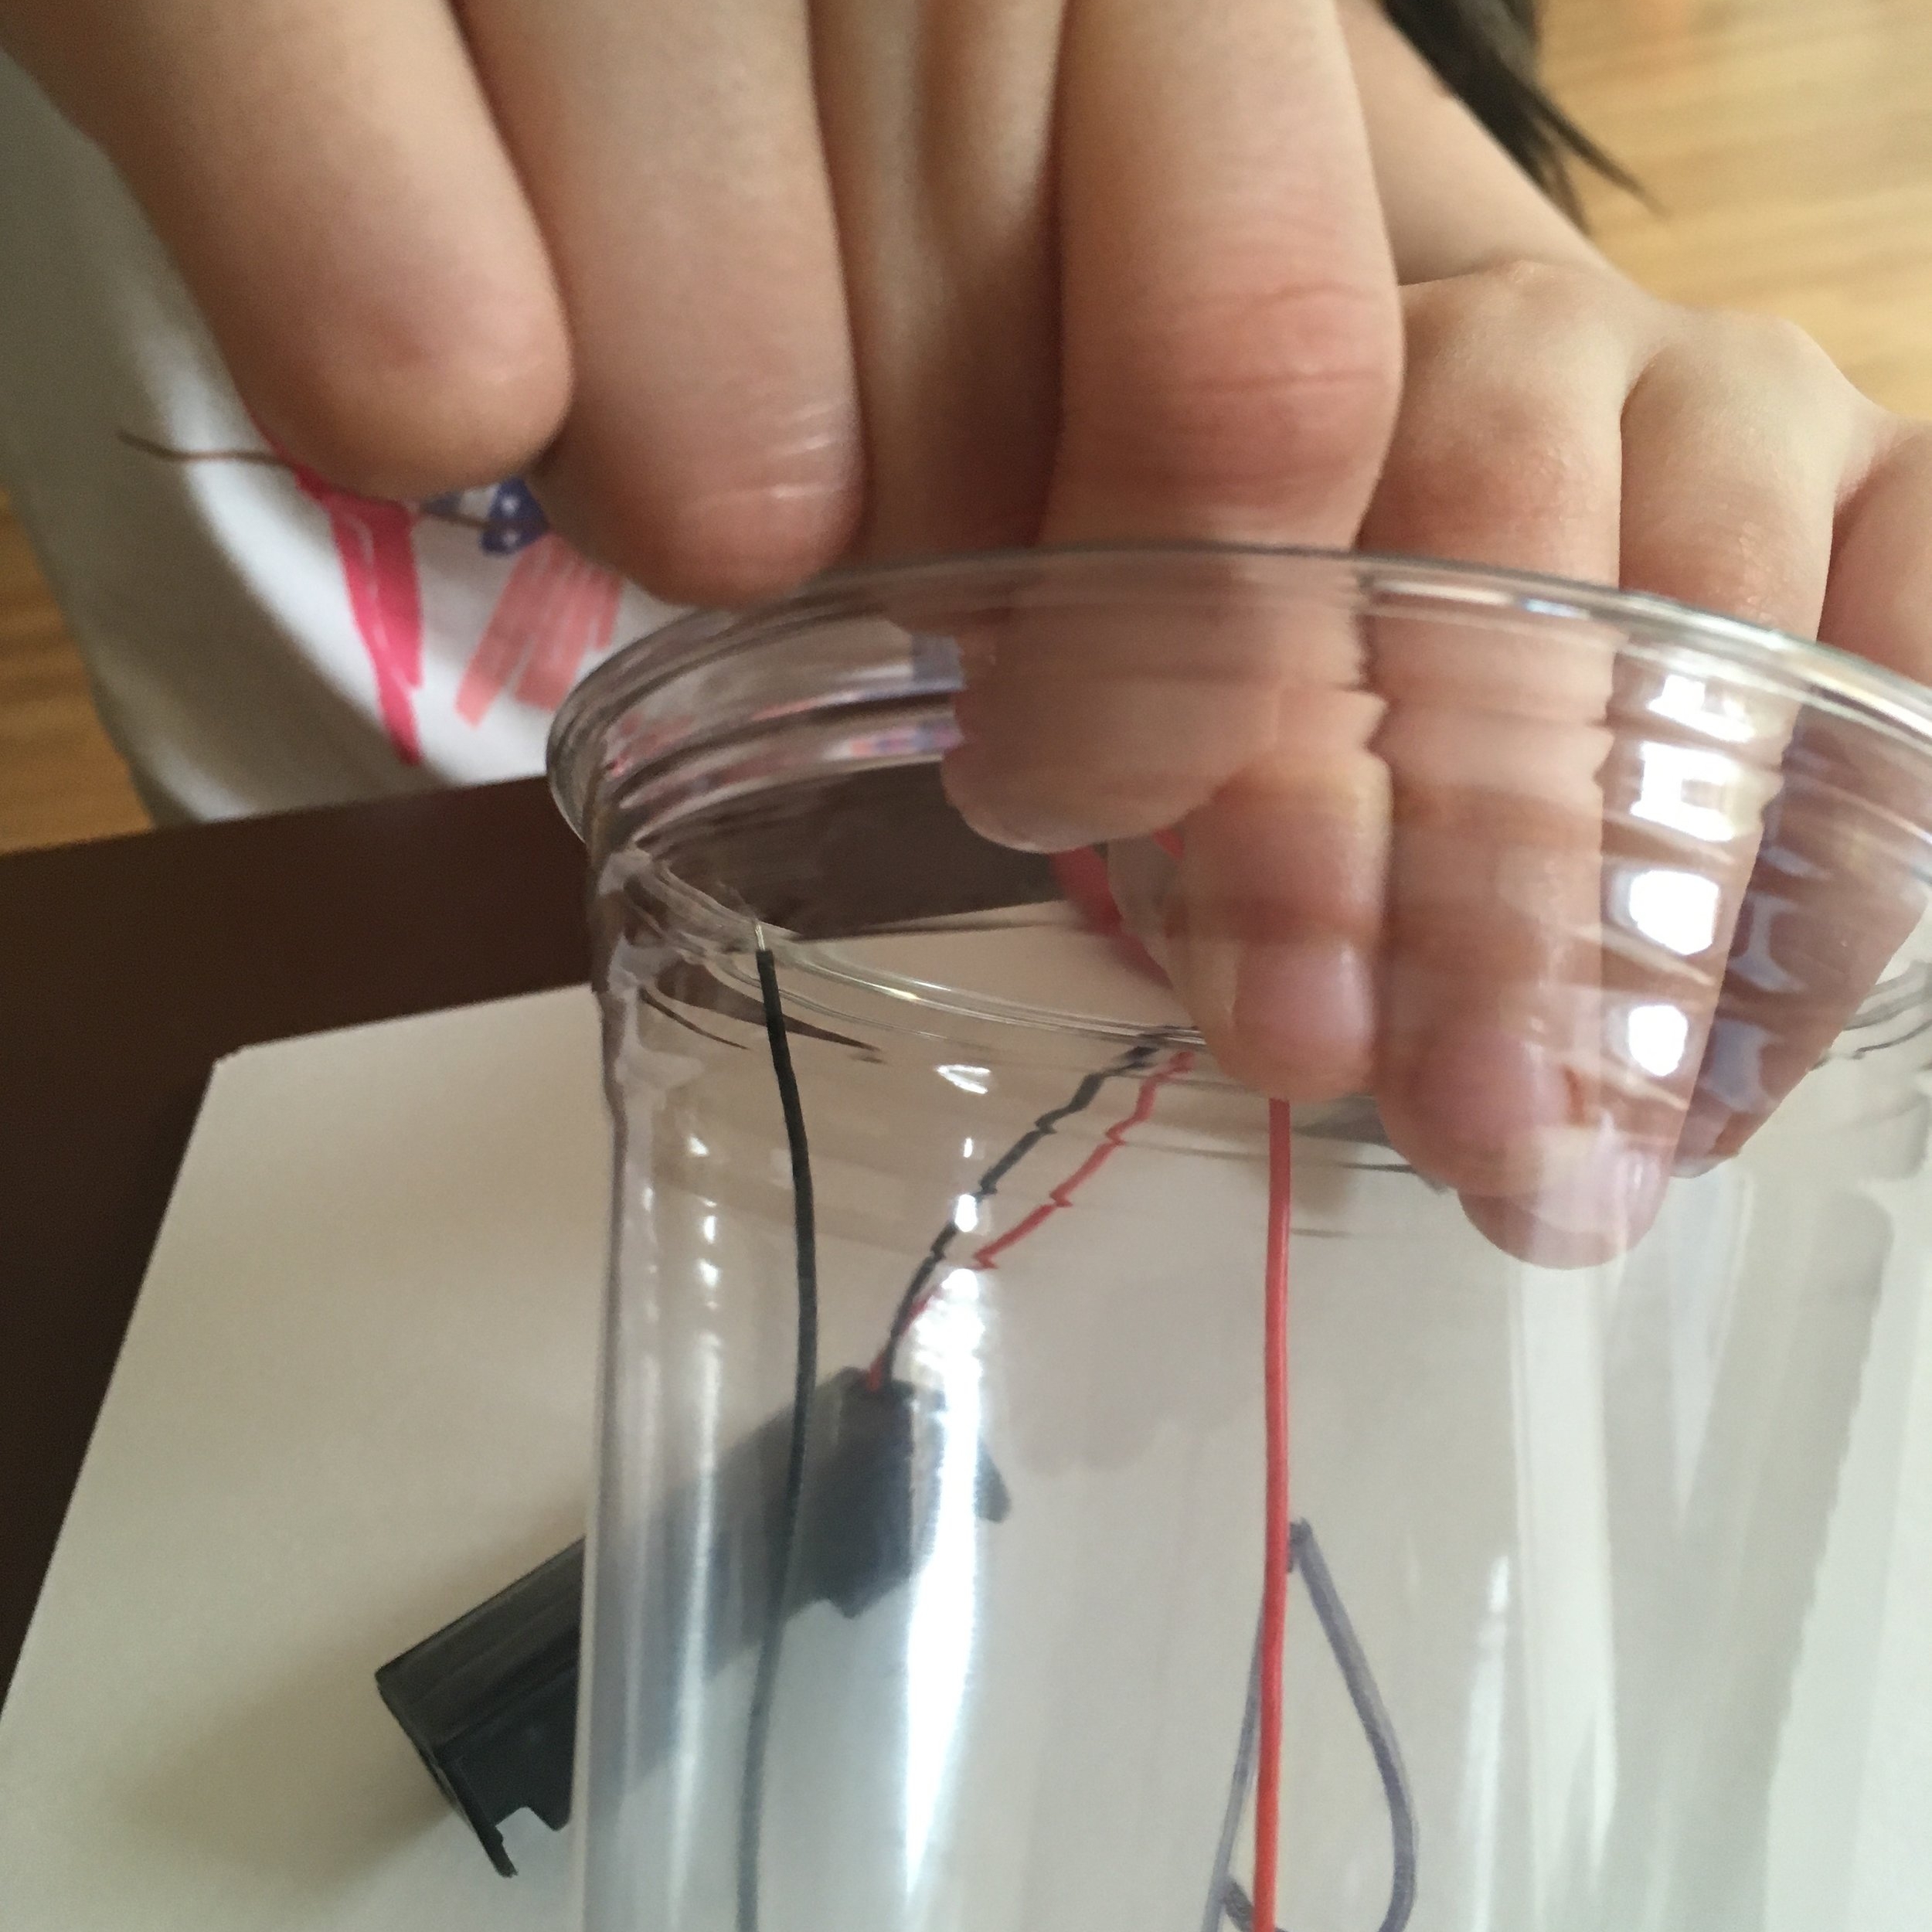
Plastic cup, 16 oz.
Cork
Popsicle stick
Thin washable markers (3)
White posterboard pieces or any kind of large paper.
Double-sided foam tape
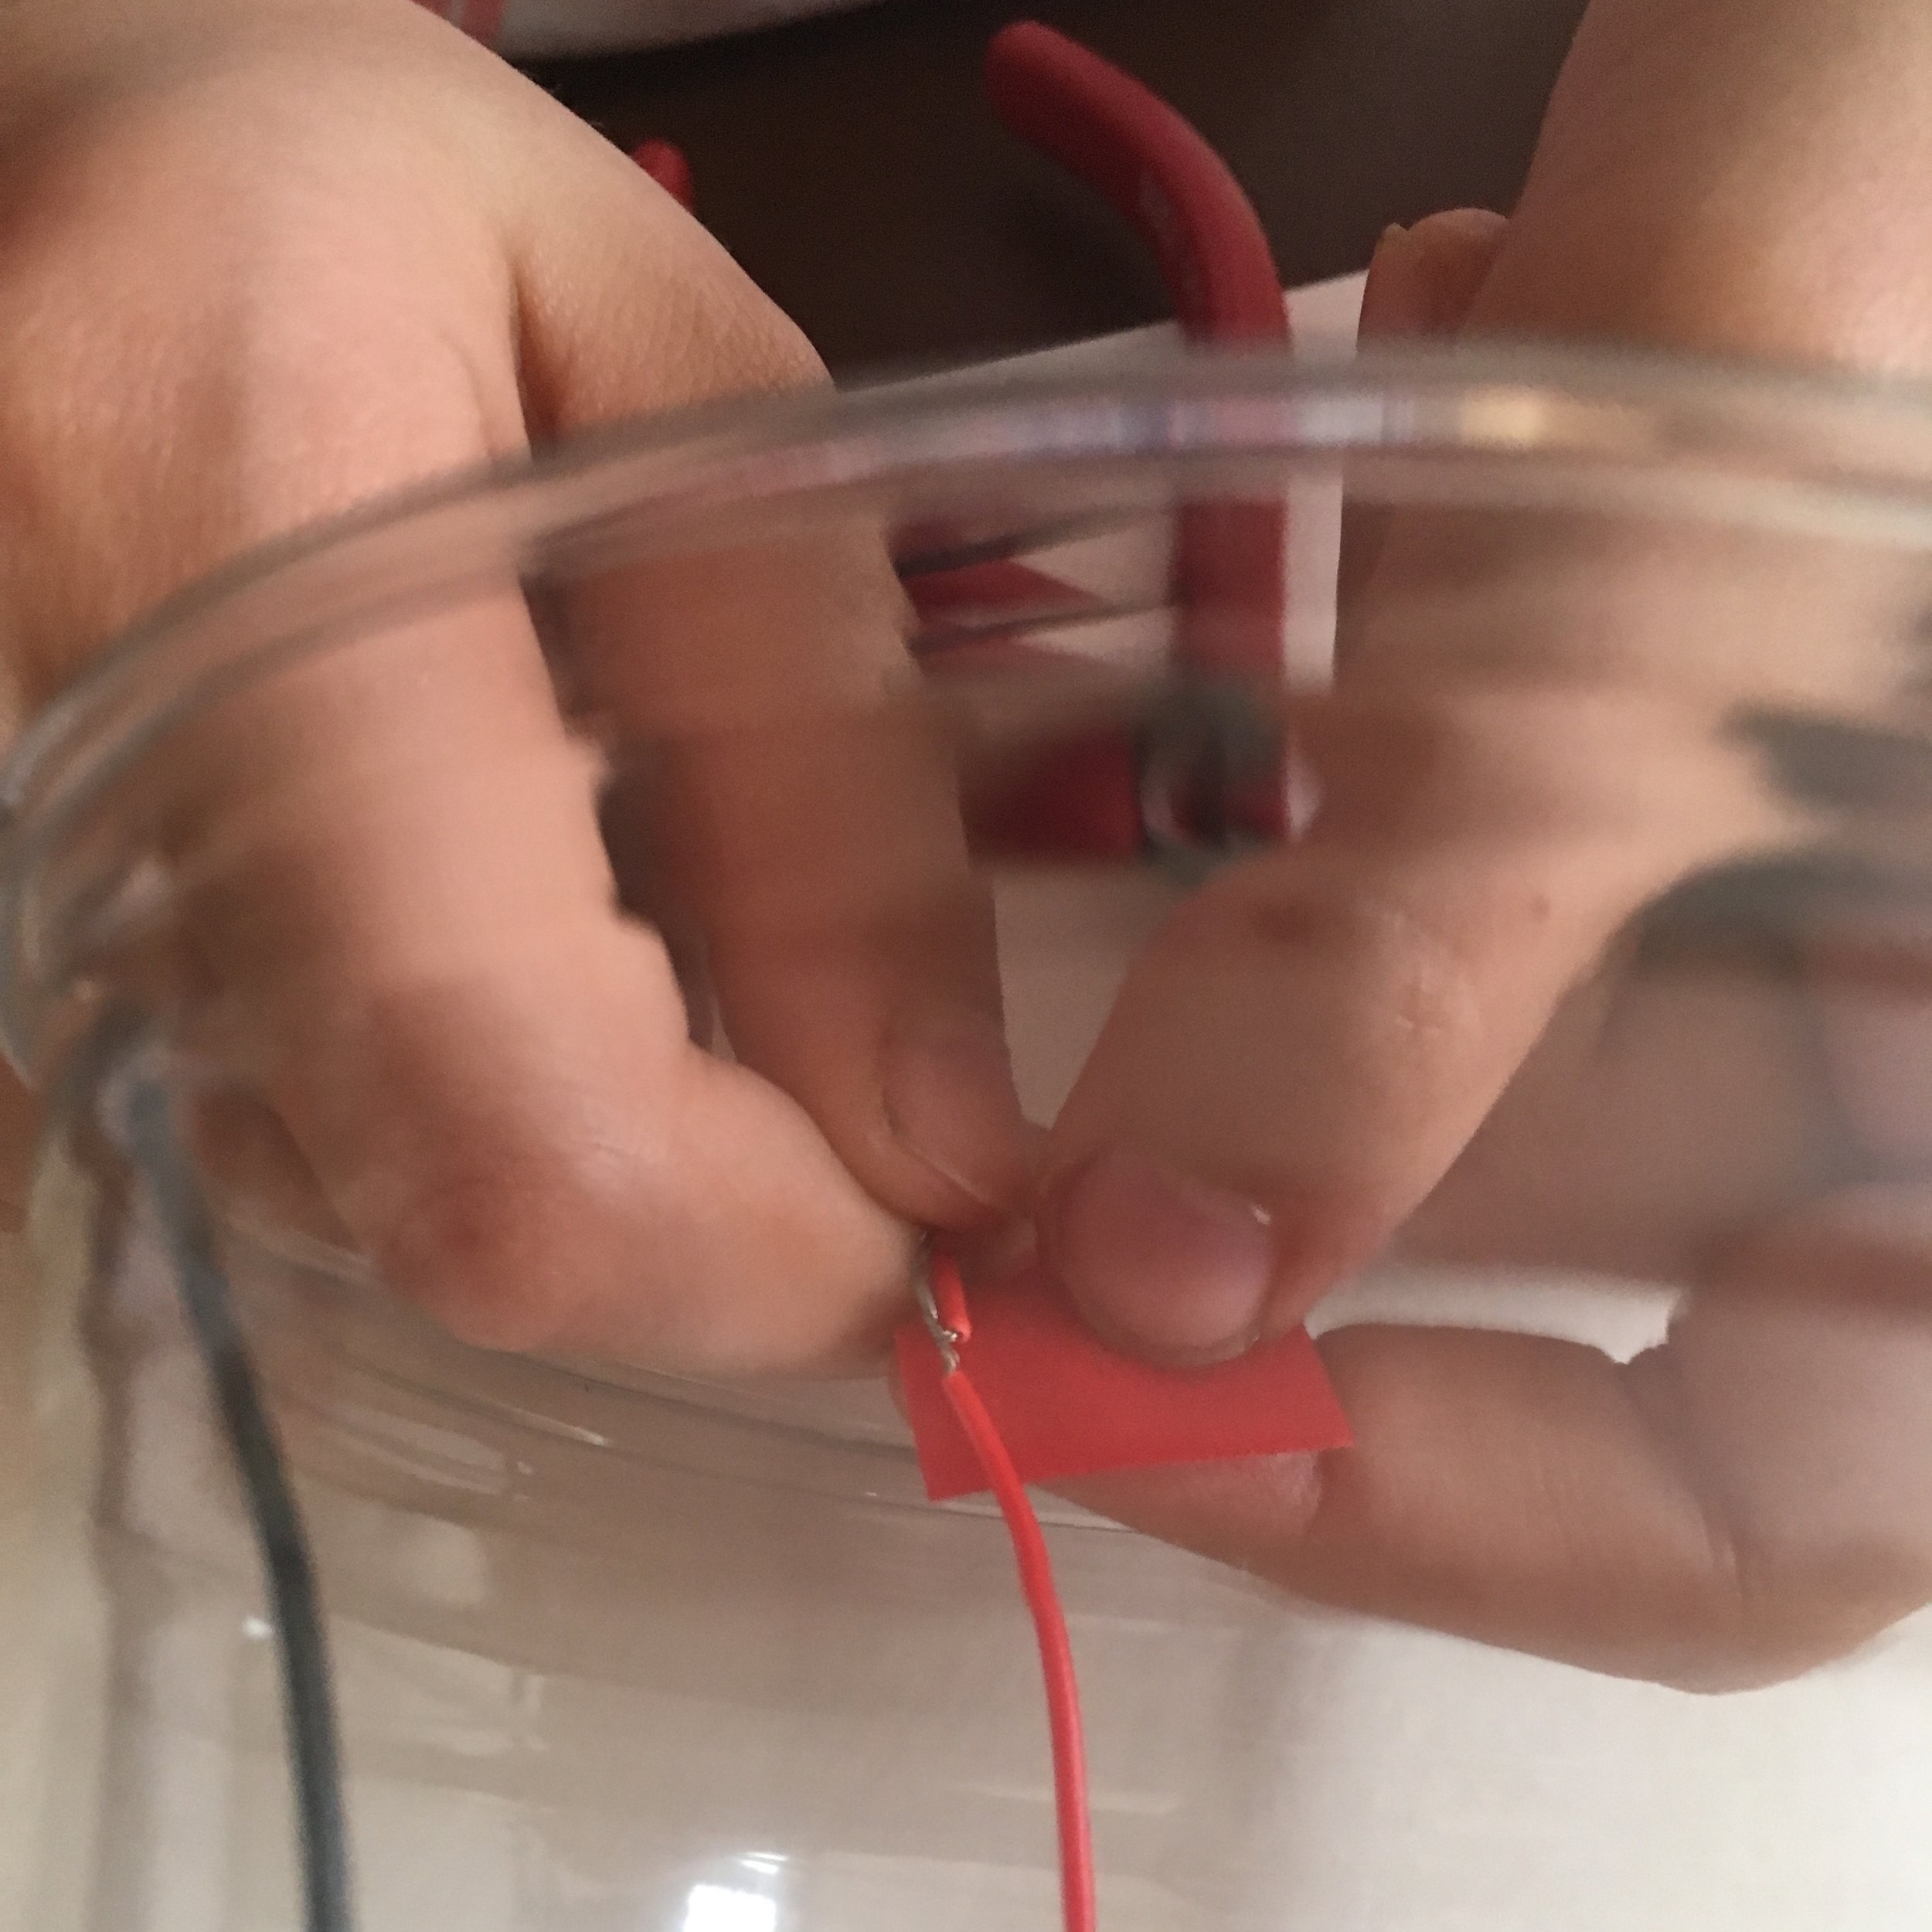
Electrical tape
Scissors
Small Phillips-head screwdriver
Optional: Arts and crafts materials to decorate your robot (googly eyes, pipe cleaners, etc.)
Optional: Digital camera to take pictures of your posterboards
Volunteer to help you run your experiments


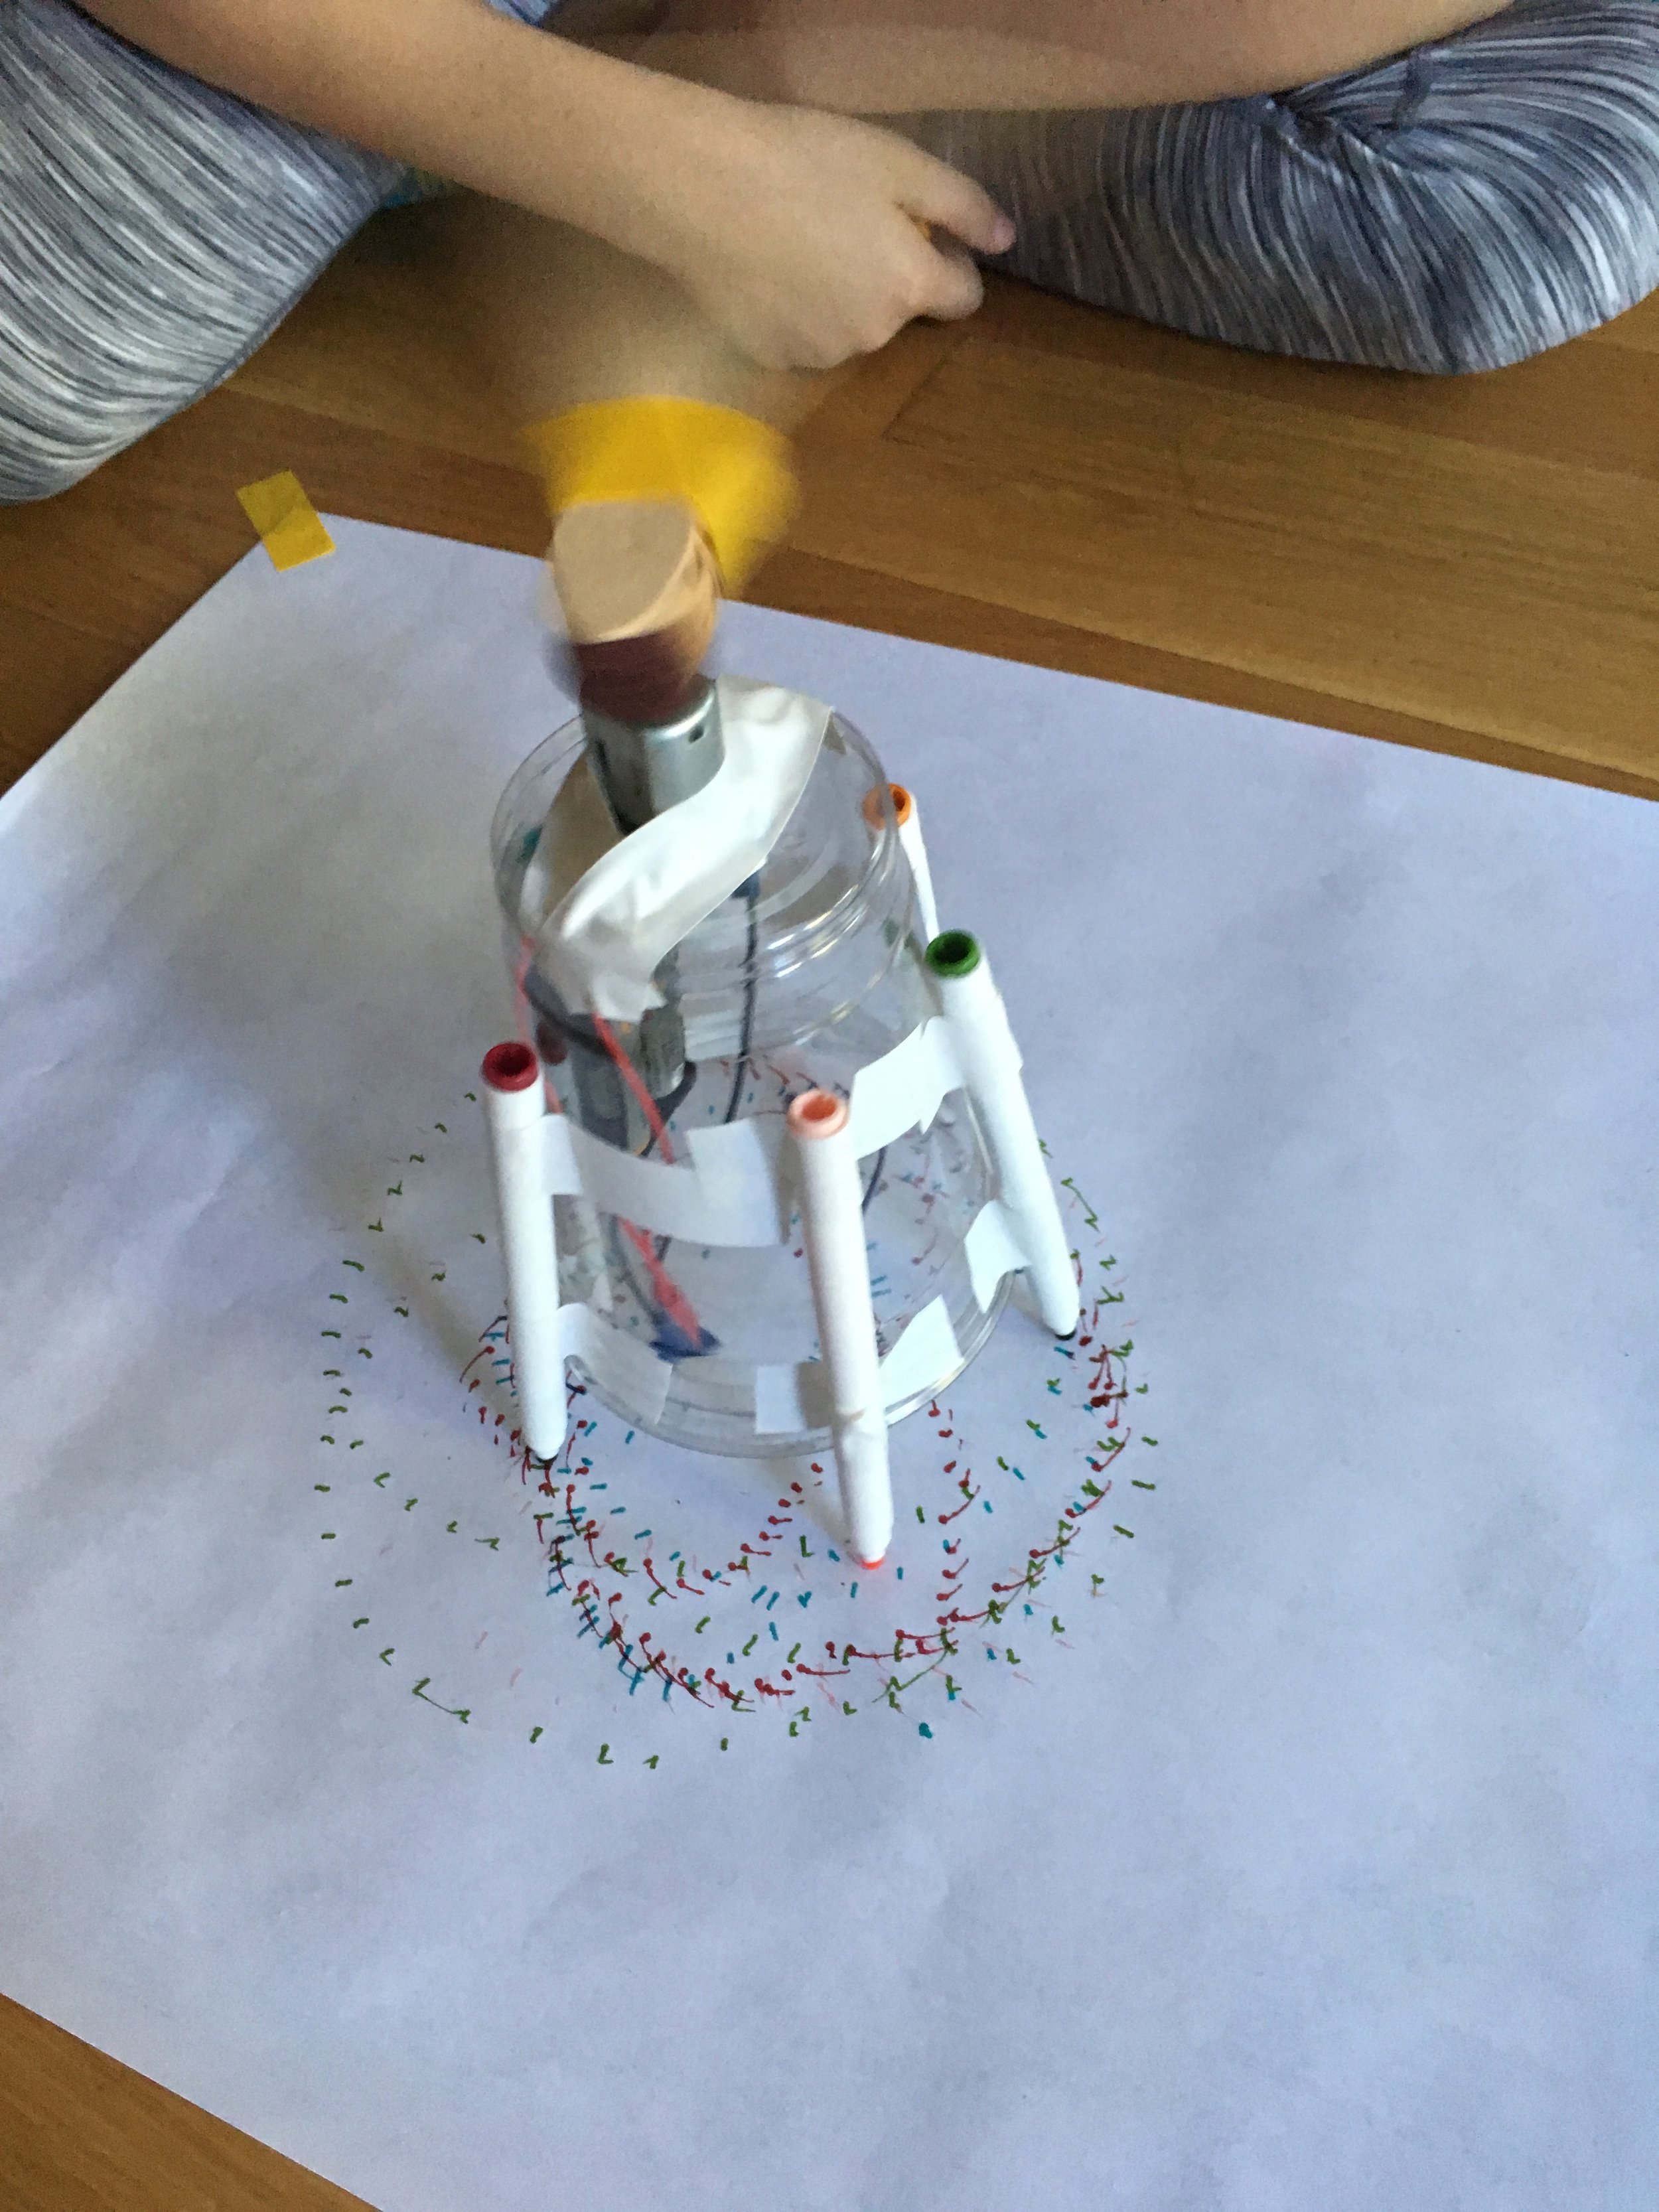
Lily then made more bots with 4 and 5 markers on each cups.